

Tired of dragging heavy hoses? Worried about rising water costs? Whether you’re managing a 50-acre commercial farm or tending a small backyard vegetable patch, efficient irrigation is the backbone of a successful harvest. For decades, one technology has stood out for its remarkable efficiency and crop-boosting benefits: drip tape irrigation.
This isn’t just another article about watering. This is a comprehensive guide that will walk you through everything from planning and parts selection to installation and profitability calculation. We’ll demystify the technical specs and provide actionable steps to help you build a reliable, water-saving system that pays for itself.
Is Drip Tape Your Best Choice? (The “Why & When” Decision)
Before you buy a single fitting, it’s crucial to understand why drip tape is so effective and, just as importantly, when it’s the right tool for the job.
5 Key Benefits of Drip Tape Over Traditional Watering
- Radical Water Efficiency: By delivering water directly to the plant’s root zone, drip tape can reduce water consumption by 50-70% compared to overhead sprinklers. Evaporation and runoff are virtually eliminated.
- Healthier Plants, Higher Yields: Keeping foliage dry is a primary defense against fungal diseases like powdery mildew. Drip tape ensures water goes where it’s needed, promoting strong root development and often leading to significant yield increases.
- Unmatched Fertilizer Savings: When combined with a fertilizer injector (a process called “fertigation”), you can deliver nutrients directly to the roots, cutting fertilizer costs by 30% or more and preventing nutrient runoff.
- Reduced Weed Growth: Because you’re only watering the crop row, the areas between rows stay drier, suppressing weed germination and growth.
- Improved Soil Structure: The slow, gentle application of water prevents the soil compaction often caused by heavy sprinkler irrigation, allowing for better aeration and root health.
The Critical Decision: Drip Tape vs. Drip Line (A Comparison Matrix)
The most common point of confusion for newcomers is the difference between Drip Tape and Drip Line (also called drip tubing). They are not interchangeable. Choosing the right one is your first major decision.
| Feature | Drip Tape | Drip Line (Tubing) |
|---|---|---|
| Best For | Annual row crops (vegetables, strawberries, corn), large-scale farms, systems that are reconfigured yearly. | Perennials (orchards, vineyards, landscaping), multi-year installations, systems in rocky terrain. |
| Wall Structure | Thin-walled, collapsible flat tube. | Thick-walled, rigid, round tube. |
| Lifespan | 1-5 seasons, depending on wall thickness and maintenance. | 10+ years. |
| Wall Thickness | Typically 6 mil to 15 mil (0.15mm – 0.38mm). | Typically 25 mil to 45 mil (0.63mm – 1.14mm). |
| Operating Pressure | Low Pressure (8 – 15 PSI). | Higher Pressure (15 – 40 PSI). |
| Cost | Significantly lower initial cost per foot. | Higher initial cost per foot. |
| Flexibility | Very flexible, easy to roll out and retrieve. | Less flexible, more permanent. |
The Bottom Line: If you’re growing annual crops in rows and value cost-effectiveness and flexibility, Drip Tape is your answer. If you’re irrigating long-term plantings like trees or shrubs, choose Drip Line.

The Limitations: When a Sprinkler or Other Methods Are Better
Drip tape is a precision tool, but it’s not a universal solution. A sprinkler system may be more appropriate for:
- Germinating seeds broadcast over a large area (e.g., lawns, cover crops).
- Frost protection in orchards, where overhead watering can protect blossoms.
- Cooling crops during extreme heat.
The Anatomy of a Drip Tape System: Understanding the Parts
A drip system is a collection of simple parts working in harmony. Understanding each one is key to a successful installation.
Visualizing the System: A Flowchart from Source to Plant
Here is the standard order of components for a reliable system:
[Water Source] → [Pump (if needed)] → [Backflow Preventer] → [Filter] → [Pressure Regulator] → [Mainline Tubing] → [Tape Fittings] → [Drip Tape] → [End Cap]
Your Essential Components Glossary
- Filter: The single most important component for preventing clogs. A screen filter is good for sand, while a disc filter is better for organic matter.
- Pressure Regulator: Drip tape operates at low pressure. A regulator is not optional; it reduces the pressure from your source to the safe operating range (usually 10-12 PSI) to prevent the tape from bursting.
- Mainline Tubing: This is the backbone that carries water from the source to the rows. It’s typically made of polyethylene (poly) or layflat PVC.
- Tape Fittings (Take-Offs): These small connectors attach your drip tape runs to the mainline. They can be simple barbed take-offs or include a small valve for individual row control.
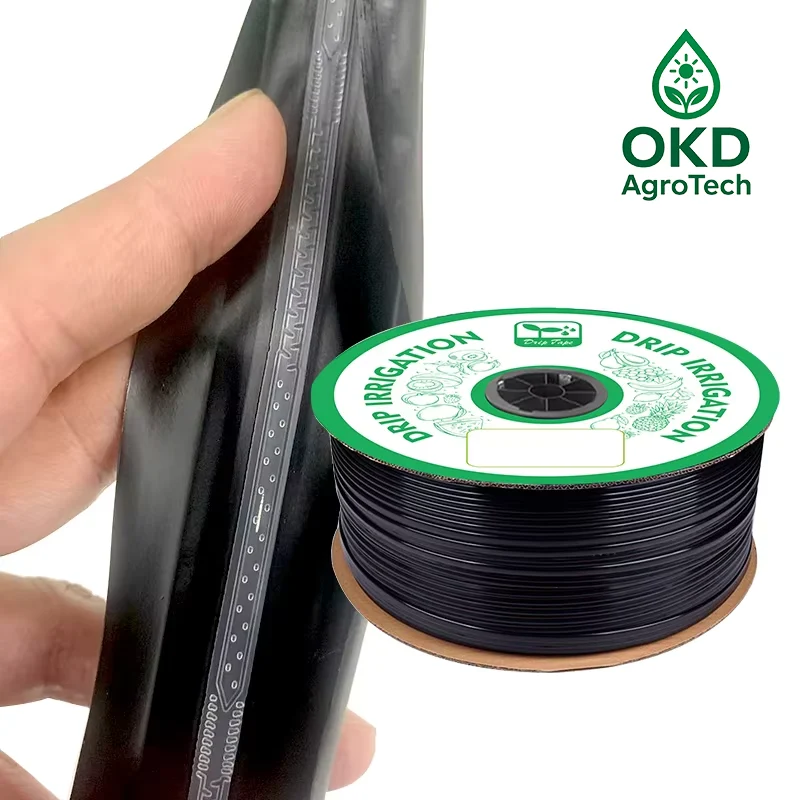
- Drip Tape: The core of the system. A quality tape, such as a 16mm Anti-Clog Drip Tape, will have precisely engineered emitters inside to ensure uniform water delivery.
- End Caps/Clamps: Used to seal the far end of each drip tape run.
A Note on Safety: The Importance of a Backflow Preventer
If your system is connected to a municipal water source or a well that also supplies drinking water, a backflow preventer is essential and often required by law. It’s a one-way valve that prevents irrigation water (which could contain fertilizers or soil contaminants) from being siphoned back into your clean water supply.
Planning Your System: A 4-Step Design Blueprint
Proper planning prevents poor performance. Spending an hour on design will save you countless hours of frustration later.
Step 1: Mapping Your Layout & Considering Soil Type
Sketch your field or garden. Mark the water source, row lengths, and row spacing. Note any significant slopes.
Crucially, consider your soil type. Water moves differently in different soils.
- Sandy Soil: Water moves vertically quickly. Use closer emitter spacing (8-12 inches) to ensure the wetted area overlaps.
- Loam Soil: Ideal conditions. Standard emitter spacing (12 inches) usually works well.
- Clay Soil: Water spreads horizontally. You can use wider emitter spacing (16-24 inches) and must apply water more slowly to prevent puddling and runoff.
Step 2: Calculating Your Water Source’s Flow Rate (The Bucket Test)
You must know how much water your source can supply.
- Get a container of a known size (e.g., a 5-gallon bucket).
- Turn your water source on full.
- Time how many seconds it takes to fill the bucket.
- Calculation: (Bucket Size in Gallons / Seconds to Fill) x 60 = Gallons Per Minute (GPM).
This GPM number is the absolute maximum your system can support.
Step 3: The Simple Math: Pressure and Flow Rate Calculations
Your goal is to ensure the total water demand of your system does not exceed your source’s GPM.
- Find your tape’s flow rate: Look at the product specs. It will be listed in GPM per 100 feet (or LPH per 100m). Let’s say it’s 0.5 GPM per 100 ft.
- Calculate total system demand:
- Total length of all your drip tape rows = Total Footage.
- (Total Footage / 100) x Flow Rate per 100 ft = Total System GPM.
- Compare: Is your Total System GPM less than your source’s GPM from the bucket test? If yes, you’re good to go. If not, you must divide your system into smaller “zones” that run at different times.
Step 4: Creating Your Bill of Materials (Your Shopping List)
With your map and calculations, list every part you need:
- Total feet of mainline tubing.
- Total feet of drip tape.
- Number of tape fittings (one per row).
- Number of end caps (one per row).
- Filter, pressure regulator, backflow preventer (one of each).
- Miscellaneous parts: hole punch for mainline, mainline end caps, etc.
Your Plan is Ready. What’s Next? With your design complete, the next logical step is to source high-quality components. Start by exploring a reliable, anti-clog drip tape to ensure the longevity of your system. Explore our 16mm Drip Tape options here.
How to Select the Perfect Drip Tape for Your Plan
All drip tape is not created equal. Three key specifications determine its performance and lifespan.
Wall Thickness (Mil): A Choice Between Budget and Durability
The “mil” is a unit of measurement equal to one-thousandth of an inch. It’s the primary indicator of durability.
- 6-8 mil: Lighter duty, ideal for single-season use on carefully prepared beds. Most cost-effective.
- 10-12 mil: Medium duty, suitable for multi-season use with careful retrieval and storage.
- 15+ mil: Heavy duty, best for semi-permanent installations, shallow burial, or fields with challenging conditions (e.g., pests, rocky soil).
Emitter Spacing: Matching Delivery to Your Crop’s Needs
This is the distance between the water emitters inside the tape.
- 8-12 inches (20-30 cm): The most common choice for vegetables, strawberries, and crops grown in sandy soils. Ensures a continuous wetted strip.
- 16-24 inches (40-60 cm): Good for larger, more widely spaced plants like melons, squash, or for use in heavy clay soils.
Decoding “Anti-Clog” Technology: An Investment in Reliability
Clogging is the #1 enemy of a drip system. While filtration is the first defense, the design of the emitter itself is the second. Basic drip tape has a simple hole, but advanced tapes use a sophisticated internal design.
A high-quality anti-clog emitter features a long, complex “labyrinth” or “turbulent” flow path. This path is engineered to create turbulence that scrubs away small particles that manage to get past the filter, preventing them from building up and causing a blockage. This technology is especially critical when using well water or pond water, which may have higher mineral or organic content.
Featured Solution: The Anti-Clog Advantage The OKD Agro 16mm Anti-Clog Drip Tape is a prime example of this advanced emitter technology. It is specifically engineered to handle challenging water conditions, making it a reliable choice for farmers and gardeners who demand multi-season performance. See the technical specs here.
The Step-by-Step Installation Guide
This is the rewarding part. With your plan and parts, assembly is straightforward.
- Assembling the Head Unit: Connect your components in the correct order at the water source: Backflow Preventer → Filter → Pressure Regulator. Use Teflon tape on all threaded fittings for a watertight seal.
- Laying the Mainline: Roll out your mainline tubing along the head of the rows you want to water. Anchor it securely with landscape staples.
- Connecting Drip Tape:
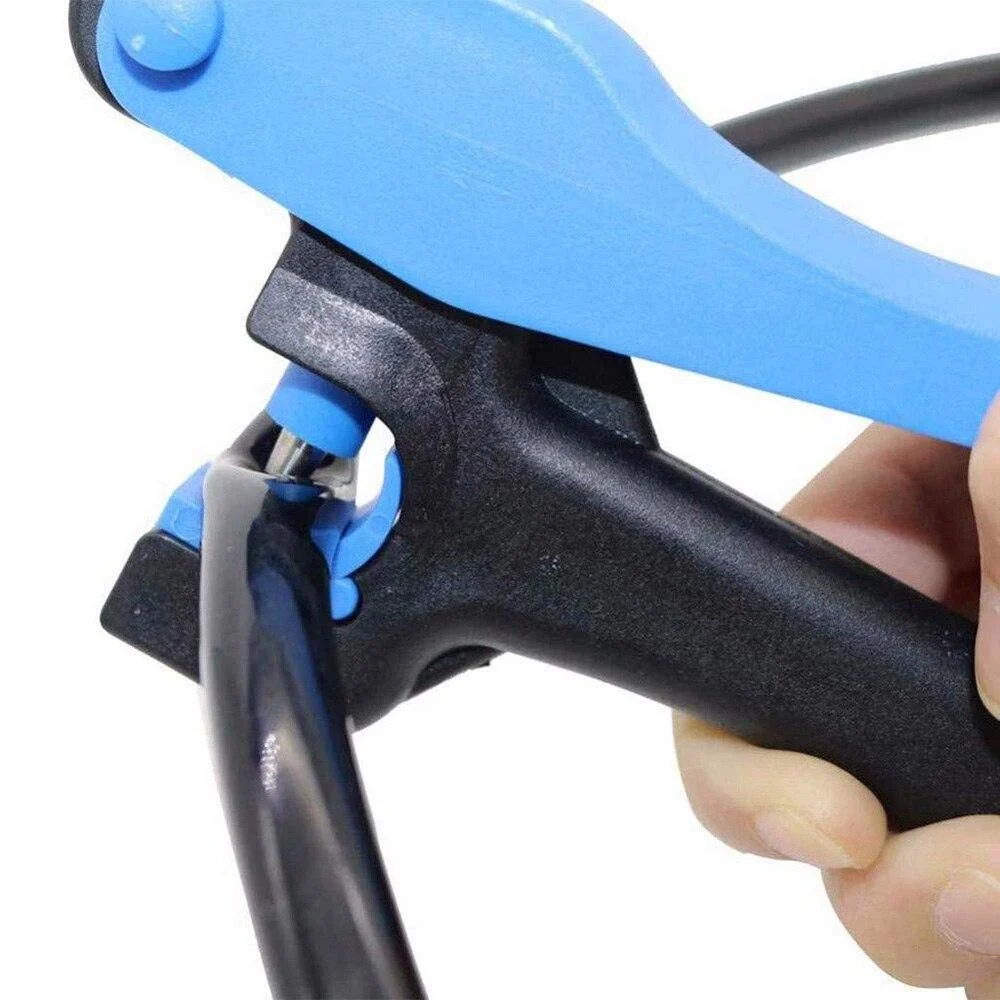
- Use a specially designed hole punch tool to make a clean hole in the mainline where each row of tape will start.
- Firmly insert the barbed end of your tape fitting into the hole. It should snap in for a secure fit.
- Attach the drip tape to the other end of the fitting and secure it with the built-in nut or valve.
- The Final Steps: Flushing, Capping, and Testing:
- Before sealing the ends, turn the water on for a few minutes to flush out any dirt from the installation process.
- Turn the water off. Fold over the far end of each drip tape run and secure it with an end clamp.
- Turn the system back on. Walk the lines, checking for leaks at the fittings and ensuring all emitters are dripping uniformly.
The Farmer’s Corner: Scaling Up for Profitability
For commercial growers, a drip tape system isn’t a hobby; it’s a capital investment. Here’s how to think about it.
A Sample Budget: Estimating Your Cost Per Acre
While prices vary, a rough estimate for a complete, high-quality drip tape system is $300 – $600 per acre. This includes tape, mainline, filter, regulator, and all fittings. The primary variables are row spacing (more rows = more tape) and the complexity of your head assembly.
Calculating Your ROI: How Drip Tape Pays for Itself
The return on investment is compelling and comes from multiple sources:
- Water Savings: Calculate your current water cost per season. A 50% reduction is a conservative estimate.
- Fertilizer Savings: If you adopt fertigation, calculate your current fertilizer cost. A 30% reduction is achievable.
- Labor Savings: Time spent moving sprinklers or hand-watering is eliminated. When calculating labor, remember that investing in a durable tape with proven anti-clog features can significantly reduce hours spent on line flushing and repairs.
- Yield Increase: This is the biggest factor. Even a modest 10-15% increase in marketable yield can translate to thousands of dollars per acre.
Formula: (Water Savings + Fertilizer Savings + Labor Savings + Increased Yield Revenue) - System Cost = First-Year ROI Many farmers find their system pays for itself in the very first season.
Getting Started with Fertigation: Precision Nutrient Management
Fertigation is the practice of injecting liquid fertilizers into the irrigation system. It’s the key to unlocking maximum efficiency. A simple Venturi injector can be added to your head assembly, allowing you to feed your plants exactly what they need, when they need it, with minimal waste.
Long-Term Care: A Guide to a Multi-Season System
With proper care, your investment will last for years.
Your Seasonal Maintenance Checklist
- Spring Start-up: Flush all lines thoroughly before capping the ends. Check the filter screen for tears. Turn the system on and check pressures.
- Mid-Season: Periodically check the filter and clean it as needed. Walk the lines to check for leaks or animal damage.
- Fall Shutdown: This is the most critical step for longevity. See “Winterization” below.
Troubleshooting Chart: Clogs, Leaks, and Physical Damage
| Symptom | Possible Cause | Solution |
|---|---|---|
| No water from some emitters | Clogged emitter (physical, organic, or chemical) | Flush the line. If it persists, a chemical treatment (acid for minerals, chlorine for algae) may be needed. Check filter. |
| Low pressure at end of line | Line is too long for the pressure; Kink in the line; Clog in the mainline. | Ensure your run length is within the manufacturer’s maximum recommendation. Check for and straighten any kinks. Flush mainline. |
| Leak at a fitting | Hole was punched incorrectly; Fitting is loose. | Use a “goof plug” to seal the bad hole and punch a new one. Ensure fittings are fully seated and tightened. |
| Spurting leak in the tape | Physical damage from insects, animals, or tools. | Cut out the damaged section and use a “drip tape coupler” to splice the two ends back together. |
Winterization: Protecting Your Investment During the Off-Season
- Flush the entire system with clean water one last time.
- Drain all water from the system. Use an air compressor (on a low PSI setting) to blow out the lines if possible.
- Remove and store the filter, regulator, and any timers indoors.
- Carefully roll up the drip tape and store it in a shed or garage, away from sunlight and rodents.
Frequently Asked Questions (FAQ)
Foundational Questions
What is drip tape vs. drip line?
Drip tape is thin-walled and used for annual row crops. Drip line is thick-walled, rigid tubing for permanent installations like landscaping.
How long does drip tape last?
Depending on the wall thickness (mil) and how it’s cared for, it can last from one season to over five years.
Technical & Purchasing Questions
Do I really need a pressure regulator?
Yes, absolutely. It is the most critical component for preventing your tape from bursting. Drip tape is a low-pressure product.
Which mil thickness is best?
For single-season use, 8 mil is economical. For multi-season use or if you plan to bury it, 15 mil is a much safer investment.
Installation & Maintenance Questions
Can I bury drip tape?
Yes, but only thicker-walled tape (15 mil+) is recommended for shallow burial (2-4 inches deep). This can protect it from animals and sunlight.
Does the stripe on the tape go up or down?
The stripe indicates the side with the emitters. Always install it with the stripe facing up. This helps keep sediment from settling into the emitter openings when the water is off.
Conclusion: Your Next Step to Efficient Irrigation
You now have a complete blueprint for success with drip tape irrigation. You understand the benefits, the components, the planning process, and the long-term care required to build a system that will save you time, water, and money while improving the health and yield of your crops.
The journey to more efficient, more profitable, and more sustainable growing starts with a single, well-planned step. Take the knowledge you’ve gained here, start sketching your layout, and get ready to transform the way you water.